Air Fryer Garlic Cheese Bread
This post may contain affiliate links. For more information, please see our disclosure policy.

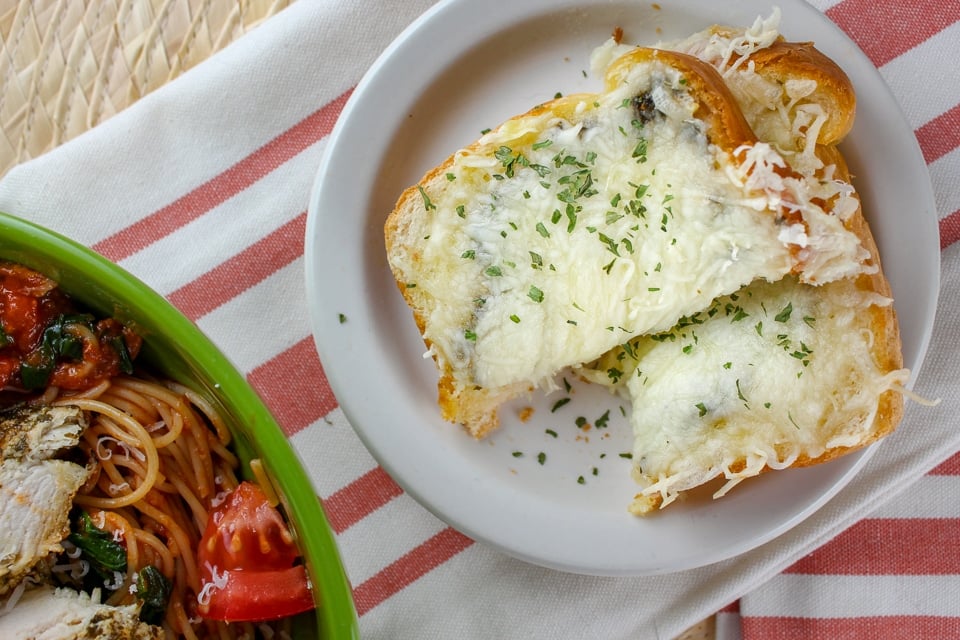
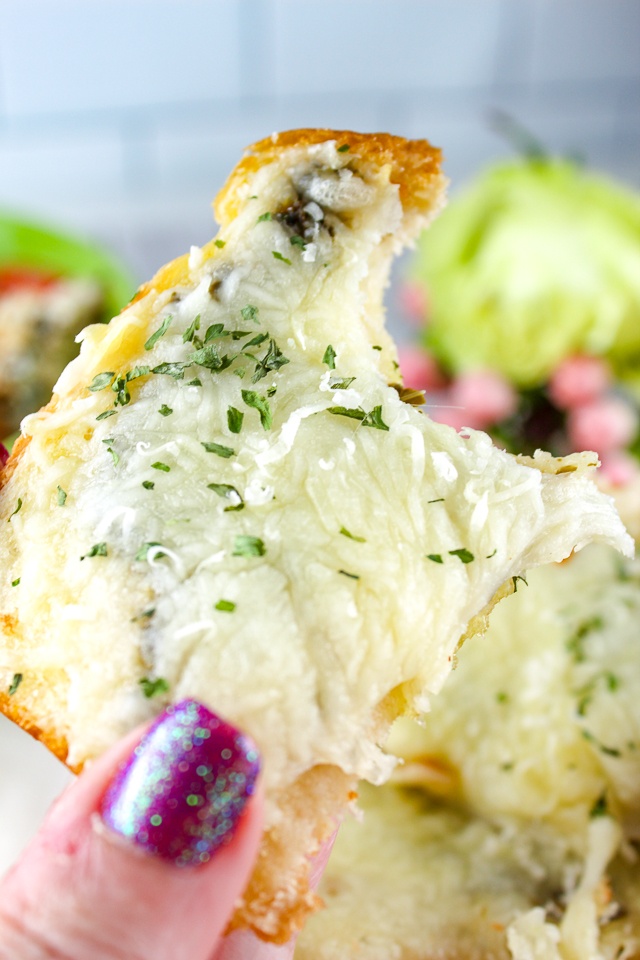
Air Fryer Garlic Cheese Bread is such an easy side dish to make in just minutes! Crunchy, cheesy and full of garlic – it goes great with any pasta dish! I love that I can make it as cheesy as I want!!
What You Will ❤️ About Air Fryer Garlic Cheese Bread
- Visit to Flavor Town! This garlic bread tastes just like the store bought but it’s fresher! I love it!
- Fast! You can have this ready to go in the time it tastes to boil the noodles.
- Cheesy & Garlicky – I like a lot of cheese and a lot of garlic and guess what – I can have as much as I want when I make it at home!
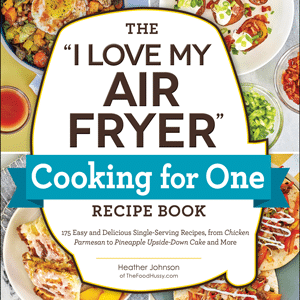
Get Heather’s NEW cookbook – Air Fryer Cooking for One today!
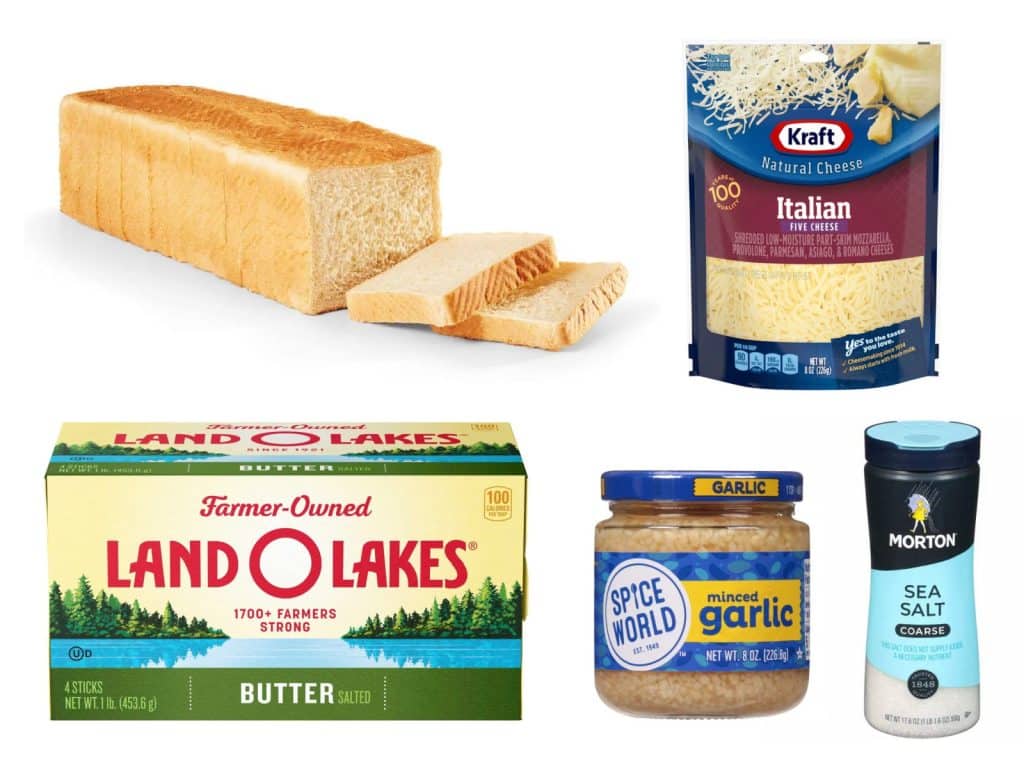
Garlic Cheese Bread Ingredients
- Texas Toast style bread
- Softened salted butter – you can use unsalted butter if that’s what you have
- Garlic – I most often use “jarlic” because it’s easier
- Salt
- Shredded Cheese – You can use a five cheese blend (Asiago, Mozzarella, Cheddar, Provolone & Parmesan Cheese) to match the Texas Toast brand – but you can also use Mozzarella cheese.
- OPTIONAL: You can add Italian Seasoning, fresh herbs like rosemary, basil & oregano or even red pepper flakes for a kick of spice
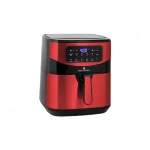
This recipe was made using the Paula Deen Air Fryer.

How to make Cheesy Garlic Bread in the Air Fryer
- In a small bowl, mix together softened butter, garlic and salt with a small spatula
- Spread garlic butter mixture on one side of each slice of Texas Toast
- Lay bread, butter side up, in a single layer in the air fryer basket (don’t overcrowd – I can do 2 slices at a time)
- Top each slice with 1/8 cup shredded cheese
- Air Fry at 375º for 4 minutes
- Bread won’t “brown” like it would in oven – check bread and be sure it’s crispy on edges and cheese is melted.
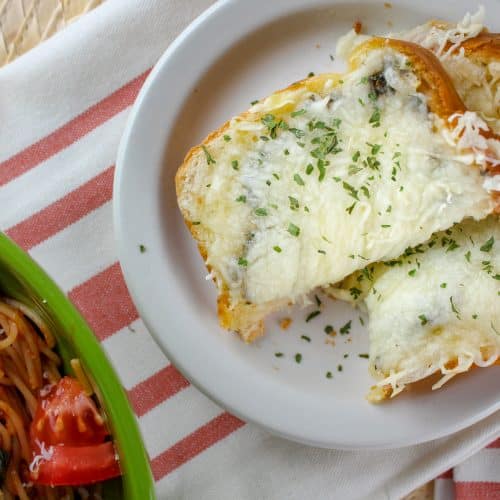
- Sprinkle garlic bread slices with fresh parsley and serve immediately with marinara sauce for dipping!
This post contains affiliate links which I make a little money on purchases. Thanks in advance! I am an Amazon associate as well as a member of other affiliate programs.
Tips, Tricks & FAQs
Store leftovers in an airtight container (I like these glass ones) in the refrigerator for up to a week. Reheat in the air fryer at 300º for 2-3 minutes.
It’s super simple! I mix the butter, garlic and salt together – then spread it on the bread. Then I put the slices in the air fryer and put the cheese on once the bread was in the air fryer. I didn’t want the cheese to fall off as I was putting it in.
Yes! Same recipe – but bake at 350º for 8-10 minutes.
If you like a crusty bread, slice up a french baguette – or a loaf of Italian bread.
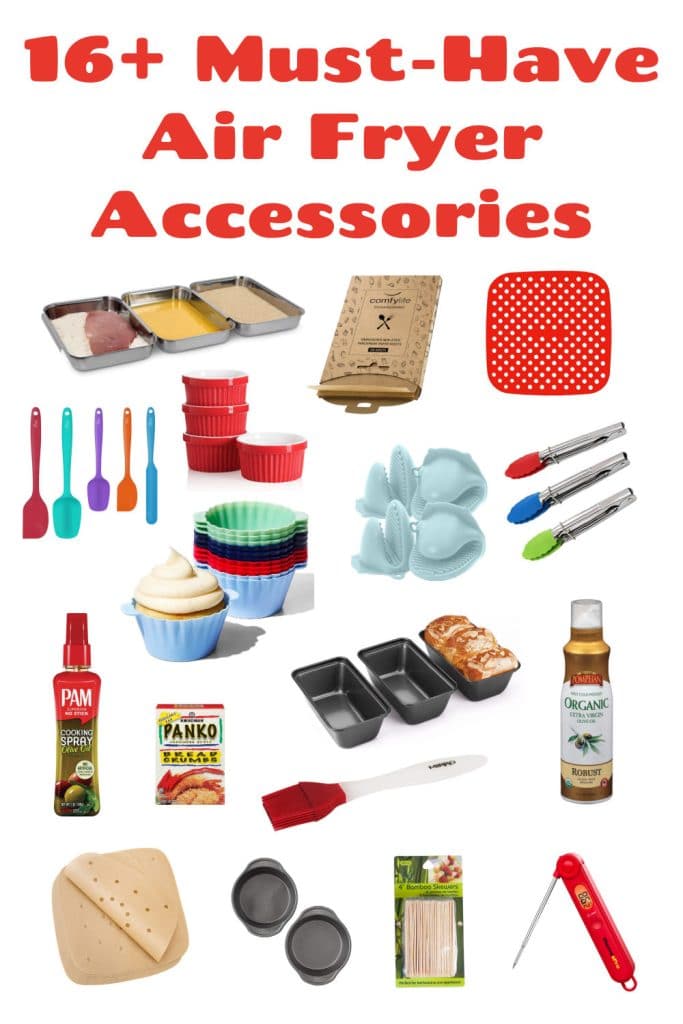
Best Air Fryer Accessories
Here’s my ultimate list of best air fryer accessories – whether you have a basket- or oven-style appliance! I’ve also included a price guide as well as my favorite recipes for those accessories.
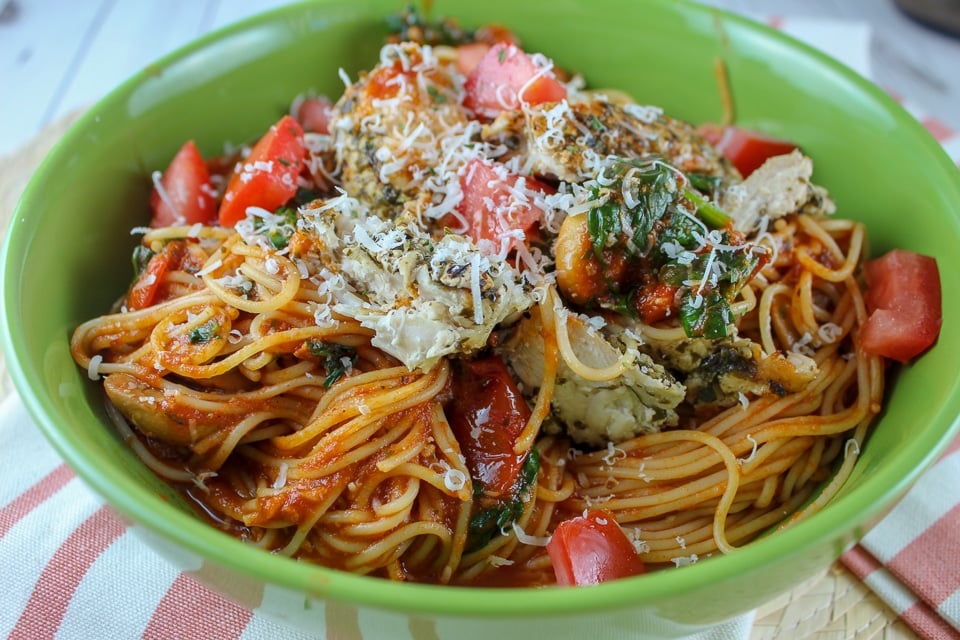
What to serve with Air Fryer Garlic Bread
- Copycat Rusty Bucket Pesto Chicken
- Copycat Red Lobster Crab Alfredo
- Copycat Olive Garden Giant Stuffed Shells
More Side Dish Air Fryer Recipes
Air Fryer Garlic Cheese Bread
Ingredients
- 4 slices Texas Toast bread
- 4 tbsp butter salted, softened
- 2 tsp garlic minced
- 1 tsp coarse sea salt
- 1/2 cup five cheese blend shredded cheese
Instructions
- In a small bowl, mix together softened butter, garlic and salt with a small spatula4 tbsp butter, 2 tsp garlic, 1 tsp coarse sea salt
- Spread garlic butter mixture on one side of each slice of Texas Toast4 slices Texas Toast bread
- Lay bread, butter side up, in a single layer in the air fryer basket (don’t overcrowd – I can do 2 slices at a time)
- Top each slice with 1/8 cup shredded cheese1/2 cup five cheese blend shredded cheese
- Air Fry at 375º for 4 minutes
- Bread won’t “brown” like it would in oven – check bread and be sure it’s crispy on edges and cheese is melted.
- Sprinkle garlic bread slices with fresh parsley and serve immediately with marinara sauce for dipping!
YUM! This looks amazing! SO cheesy & delicious!