Blogger Sharing: 10 Minute Makeup by Kelly Heid
This post may contain affiliate links. For more information, please see our disclosure policy.
Okay – this blog post was a LIFE CHANGING EXPERIENCE for me. You see – I’m not much for makeup. I would maybe wear makeup 1 day out of 10. Not anymore.
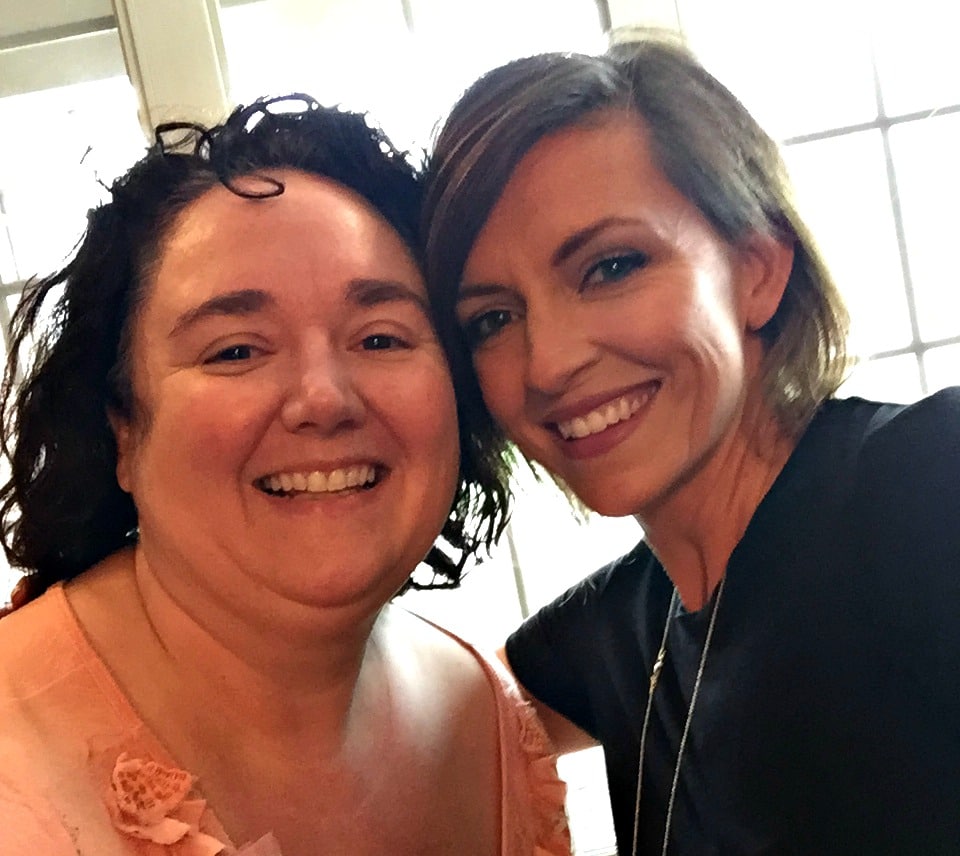
Kelly Heid. She’s a fairly new blogger but has been working in cosmetology for a long time. She has a successful business doing makeup for weddings but has expanded into a blog so she can share her knowledge with others. And let’s scroll up again and say – THANK GOD!
So what catapulted this change? I’ve been going on TV lately and I know – I look like hell! Here – take a look. When I met Kelly last fall at another makeover event – we totally bonded. While that makeover was amazing – it took Alexa and hour to do it. Ain’t nobody got time for that!

So here’s the lovely blank slate. Please reserve all comments for the after shot please.

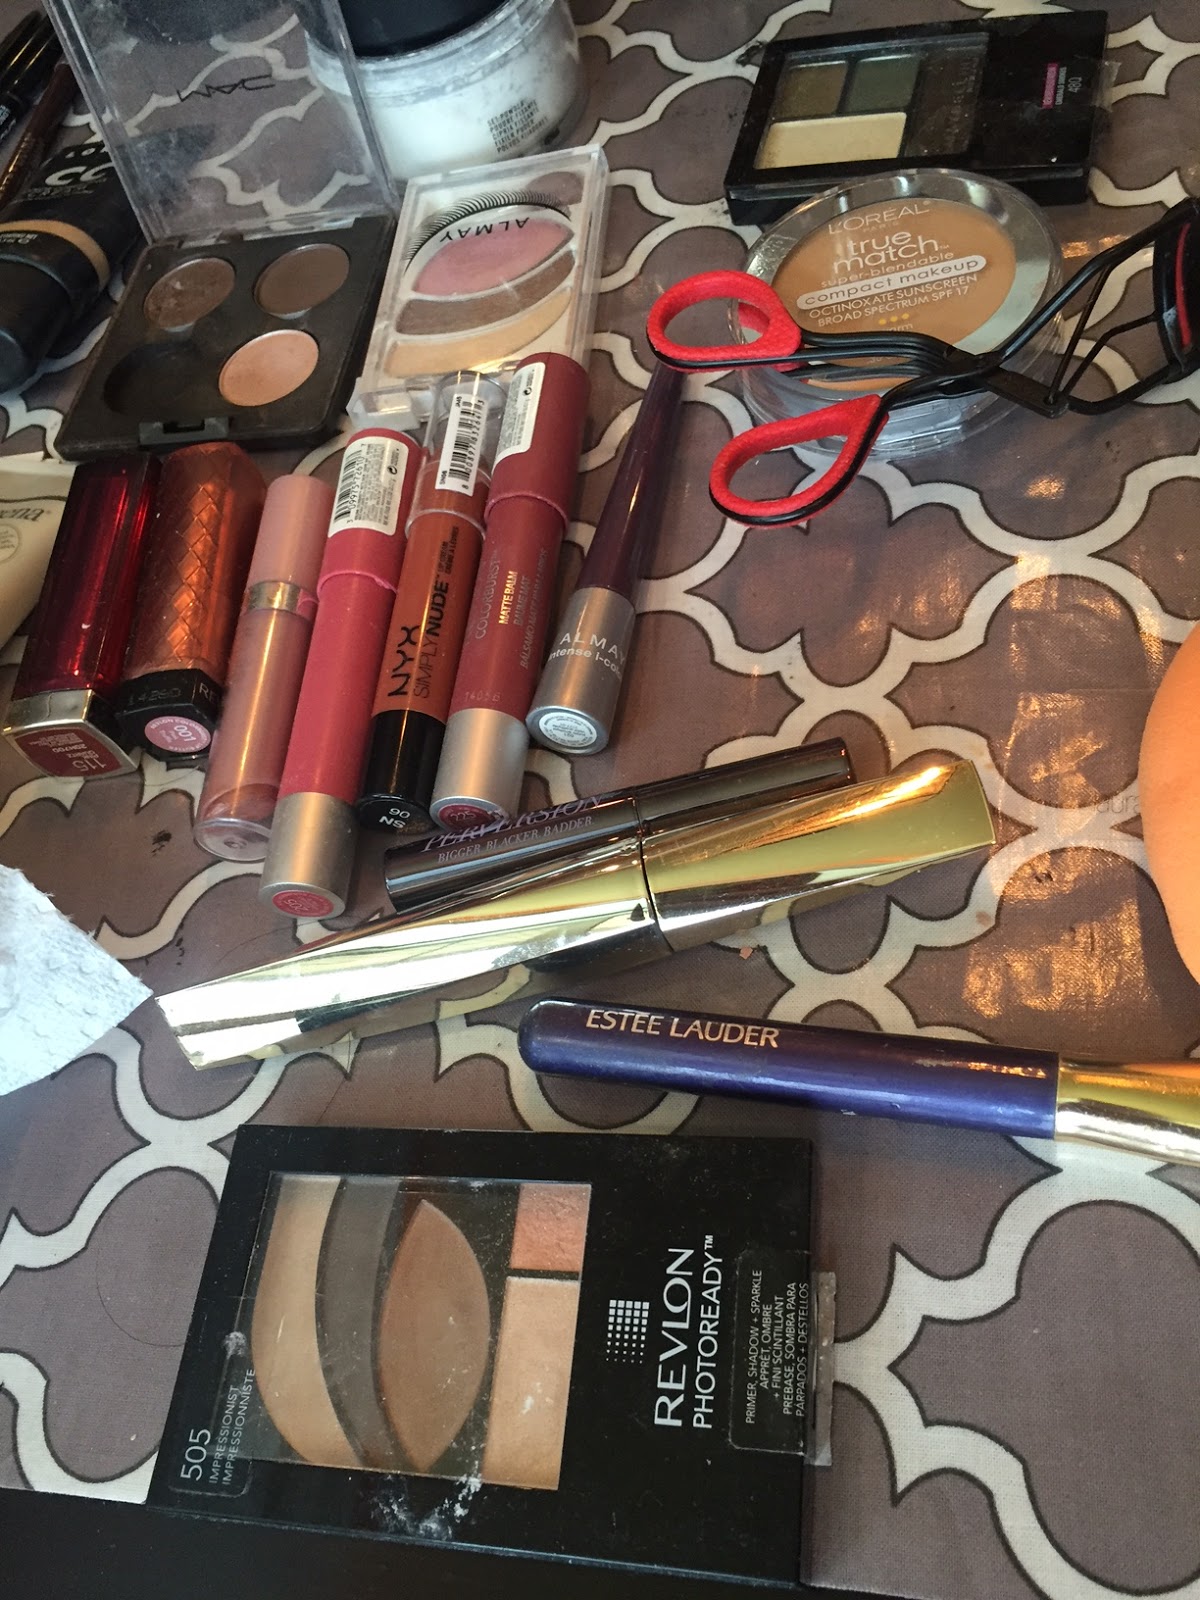
First – my makeup wasn’t enough (haha) – she had to supplement with a few key items. First up – concealer! She said I’m lucky to not really have bags or dark circles (w00t!). She said to take the concealer and slide it downward from my eye. If you swipe – you’re following the bags and circles and it accentuates them – so go the opposite way and stripe it downward.
She said my foundation was pretty good – it was in the right color family (no orange lines for m) but I needed more moisturizer. Her main recos were:
* Use Cetaphil to wash your face – it’s affordable and gentle – you don’t need fancy!
* Get some concealer (Kelly’s Product Reco: Maybelline Fit Me)
* MOISTURIZE – I have dry, reddish patches – so I need a heavy night cream and then a light daytime moisturizer (put on RIGHT before you apply foundation) (Kelly’s Product Reco: L’Oreal BB Cream)
* For foundation – I’m in the right area – but something lighter and not matte would work better (Kelly’s Product Reco: Bare Minerals Complexion Rescue)
 |
| Image courtesy of http://quotesgram.com/ |
Next up was blush. My response was, “Um Ew.” Basically with makeup – I’m constantly afraid of looking like Mimi from Drew Carey. And blush just seems like an old lady thing. But I was wrong.
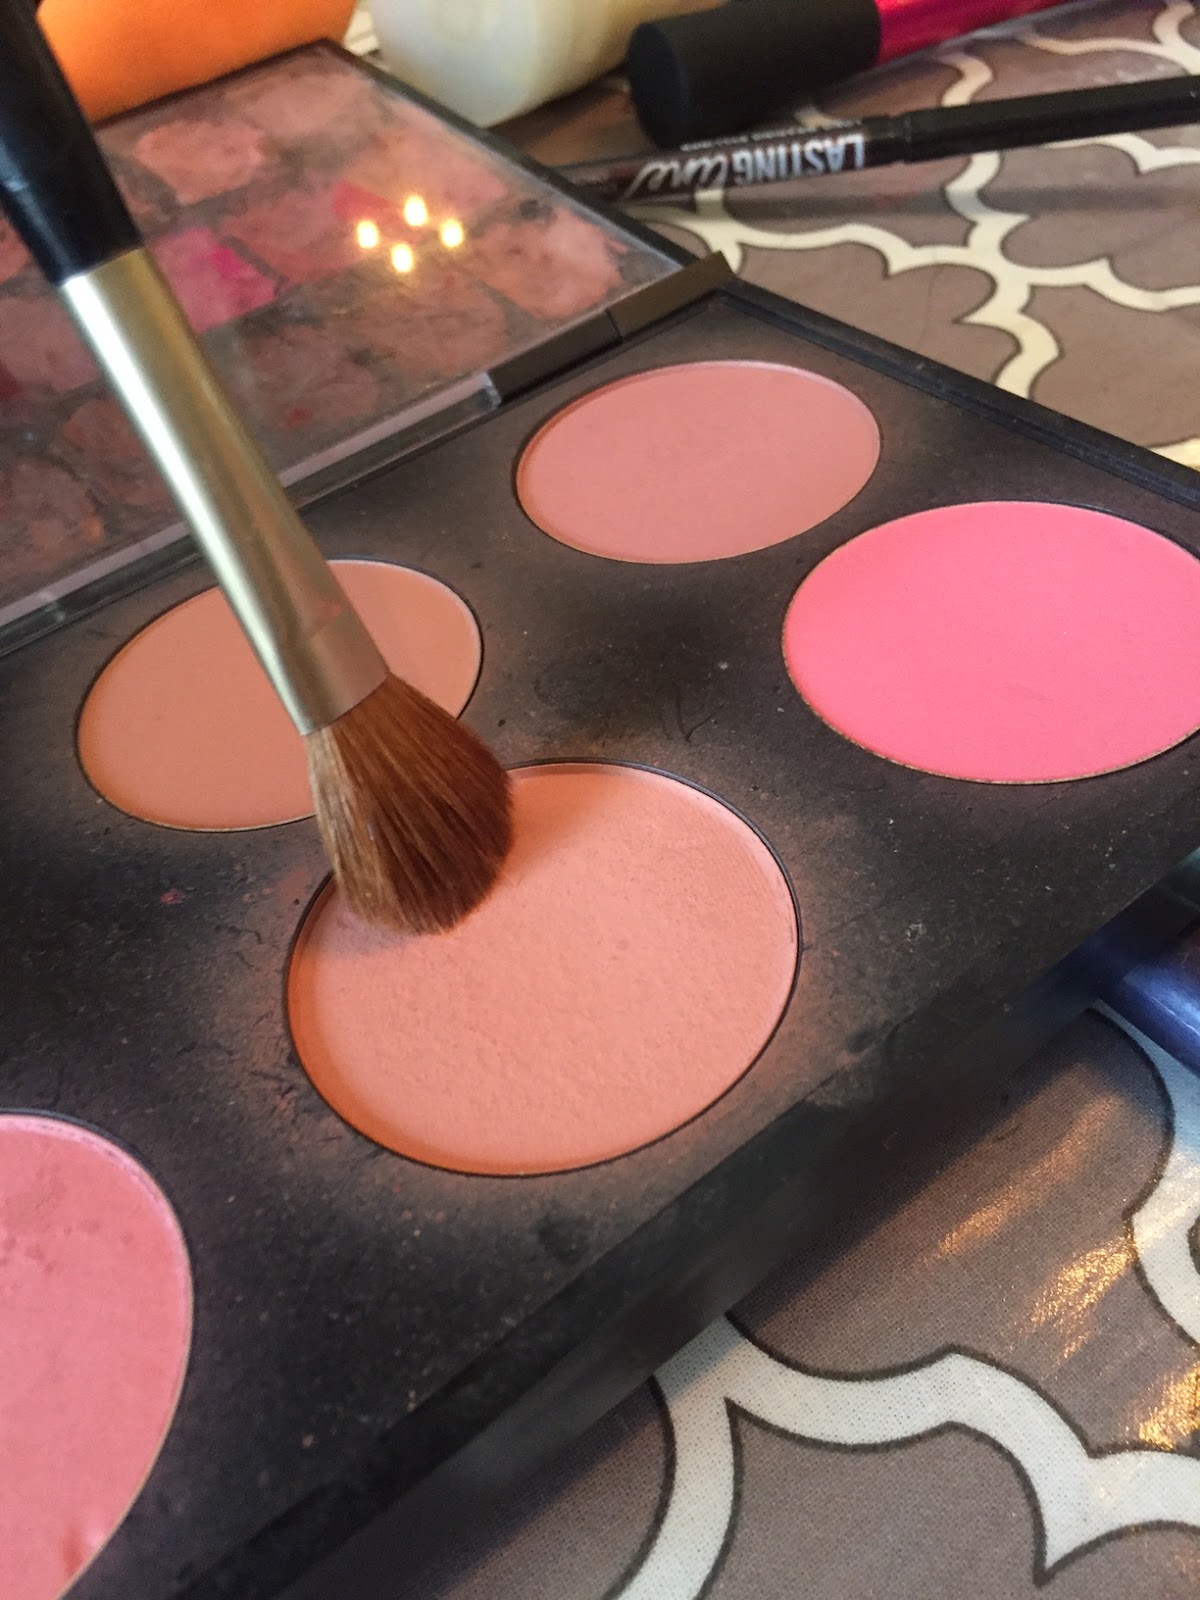
Kelly recommended a soft peach blush for me. Say what??? This was where she supplemented my makeup and used one from her MAC collection. She swiped it on my cheeks from my hairline to the edge of my eyes. It was barely noticeable but it was noticeable.
It was really hard for me to take pics during all of this – so some will just come from explanation. That’s why you should go follow Kelly’s blog – she’ll have tutorials there that will help you out!

So my eyes – what did she do? I had to do the big googly eyes of course just for fun. This was the REAL lesson!
* EYELINER!!! It terrifies me but she gave me some basics. You need to smudge it in right along the lash line – not above it – not under it – IN IT. It’s close to poking your eye out. I was using the right color – she recommended a purple for me and that was in my makeup bag. Unfortunately the one I had was a liquid and she said that requires a lot of precision (i.e. not for a newbie like you Heather).
(Product Reco: Jordana Eye Liner in Eggplant)
* Eye shadow – she loved the colors I had – I have brown eyes and always choose colors palettes for brown eyes.
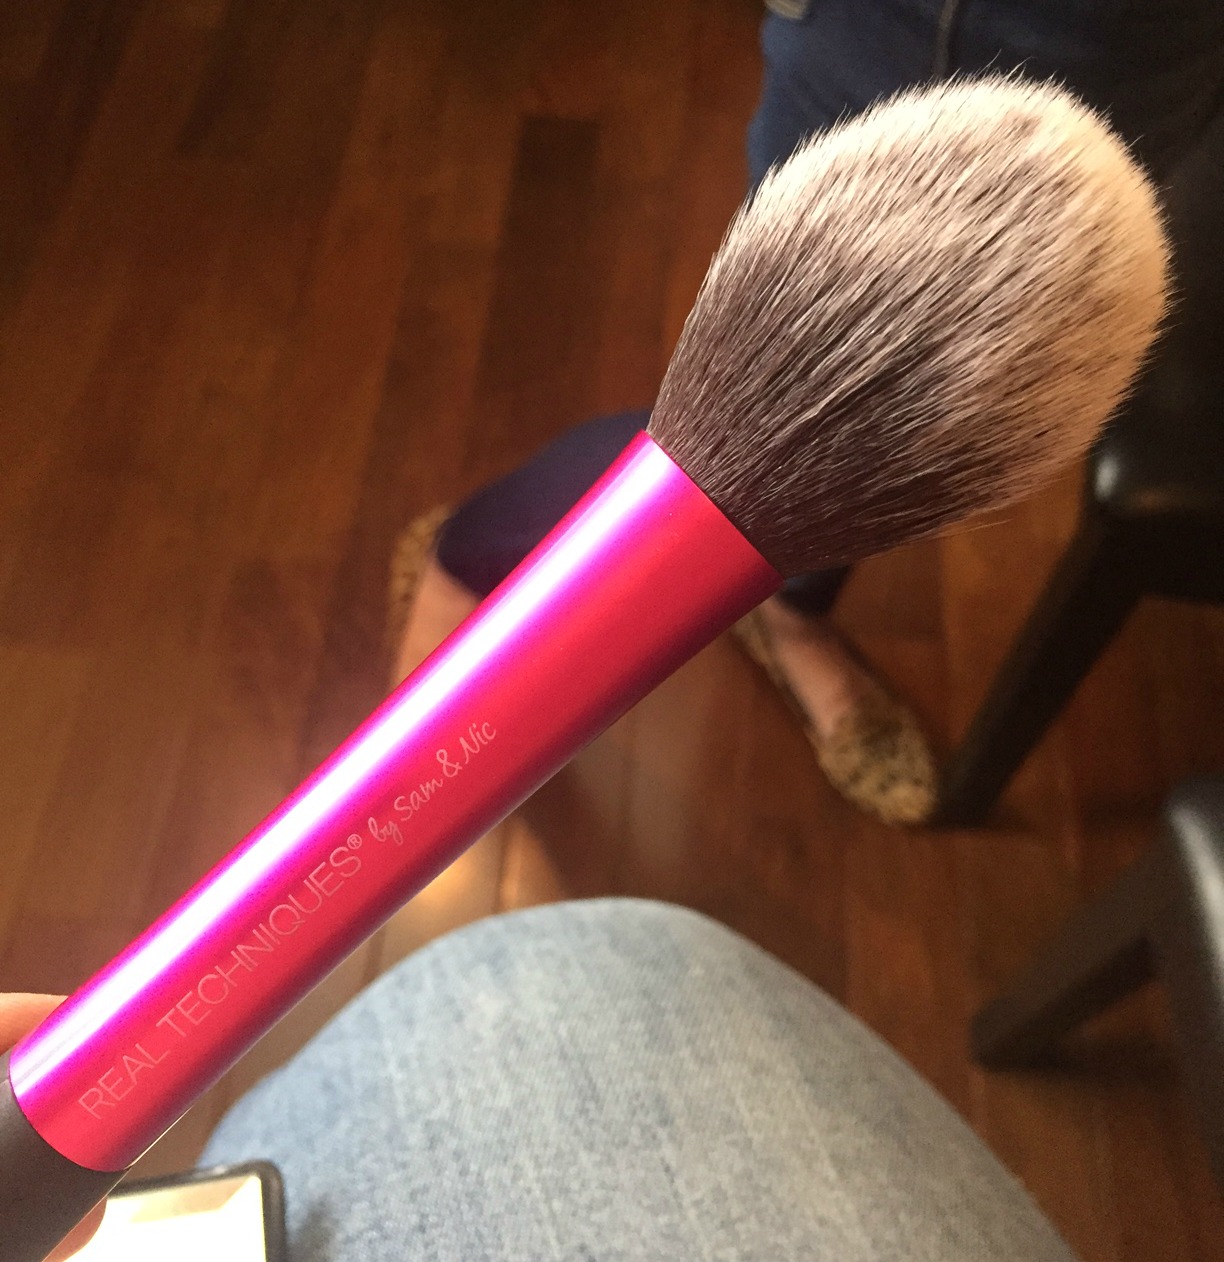
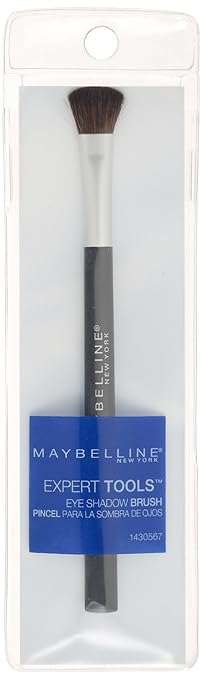
* First take the brush – like you see above – and after you put the shadow on it – you PRESS it on your eye lid. Just PRESS!! You don’t swipe! I had no idea – this was a huge step-change for me and I love it!
* Then she used the peach blush in the crease of my eyes
* Last for the shadow was a very light color on the brow bone
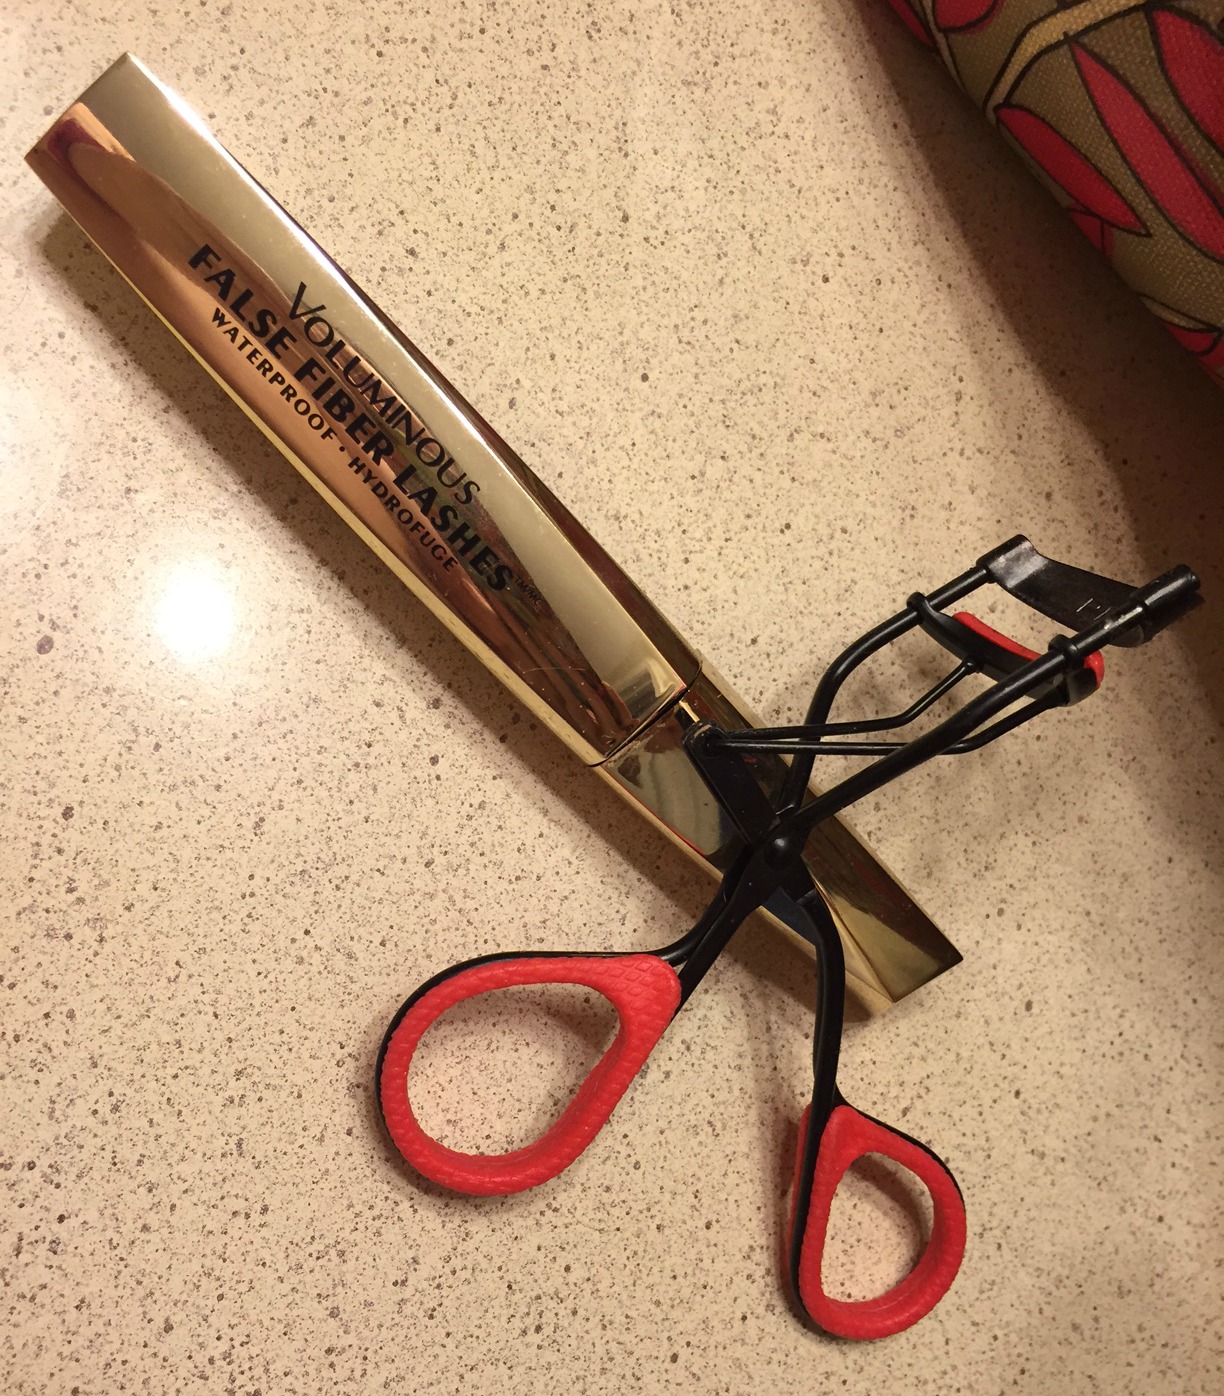
After the eye liner & shadow was done – it was onto mascara. Kelly loved my mascara (L’Oreal Voluminous False Fiber) and said it’s one of her favorites. I regularly wore mascara – so I was pretty well-versed here. The steps are:
* Use a lash curler – TIP: crimp the curler on your eye lashes 2-3 times – once isn’t enough!
* A coat of mascara is actually considered when you dip the stick in the mascara. So when people pump the stick – each pump is a coat. (who knew?)
* She recommended that I put one coat on and let it dry just a second – and then add a second coat separately.

Lastly – Lipstick. With lipstick – I tend to live in the same color range – as you can see above – I like the pinkish browns and most of them are a barely there color.
Kelly said for starters I should use a lip liner – my lips are pretty thin and this will help give them a little more definition and stand out. She said Walgreens has a brand called Jordana – they are at the counter where you pay at Walgreens in the beauty section – right below the cash register usually. They have lip liner, eye liner and lipsticks right there – all right around $2!!!

Next she dared me to go bolder on a color. So after stopping at Walgreens for the purple eyeliner that’s easy to use – I also picked up some bolder lip color in the Jordana brand – for $2 – why not try it out?! It’s low risk and I loved it! (Product Used: Jordana Matte Frappuccino)
(Product used: Jordana Rock ‘n Rose Lip Liner)
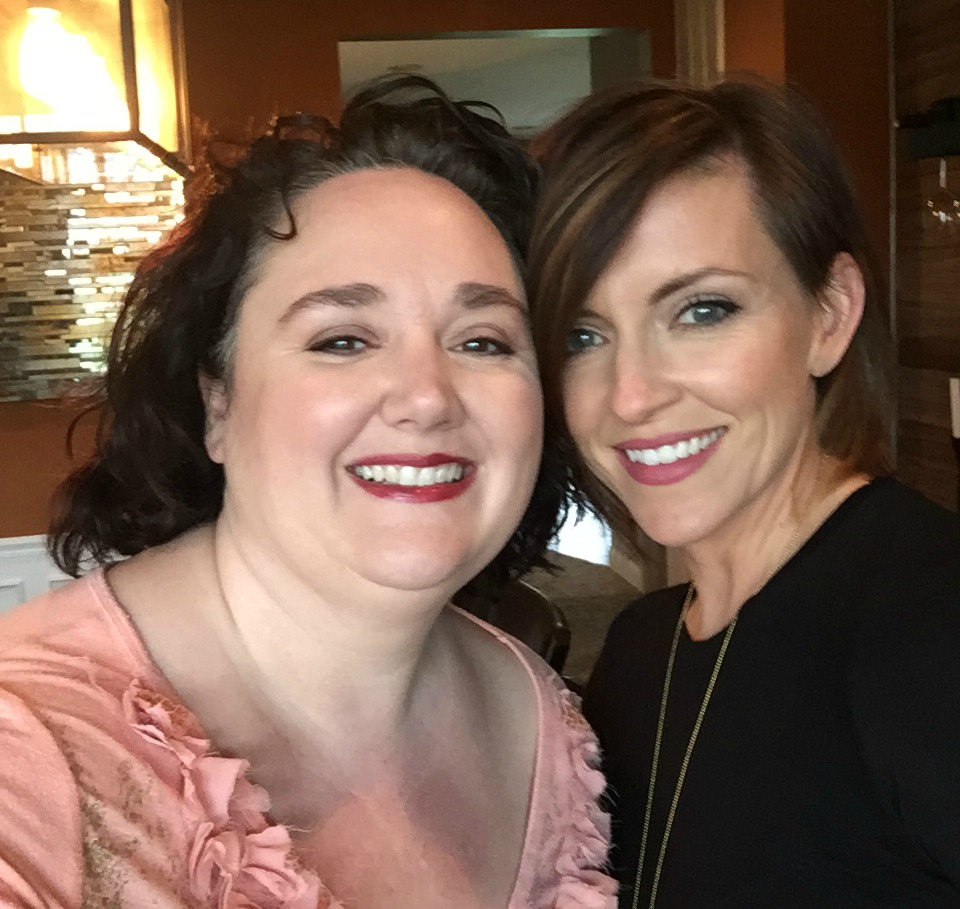
But back to my afternoon with Kelly – here was my final look and I loved it! The best part was just all of the tips and tricks she gave me. I now wear makeup probably 5 days a week and I can do it MYSELF in 5-10 minutes! I’m still mastering the darned eye liner – but she said that’s the toughest one to get.
When I went in for my next TV spot – my girl Sheila Gray even said “Ooooh look at the makeup!” – which I don’t want to look like my face is painted on but I usually go in with nothing but mascara – so she noticed and said it looked great. I felt like I graduated into grown up land!

I also had a great time with Kelly’s dog – if there’s a dog – it’s getting its picture taken!
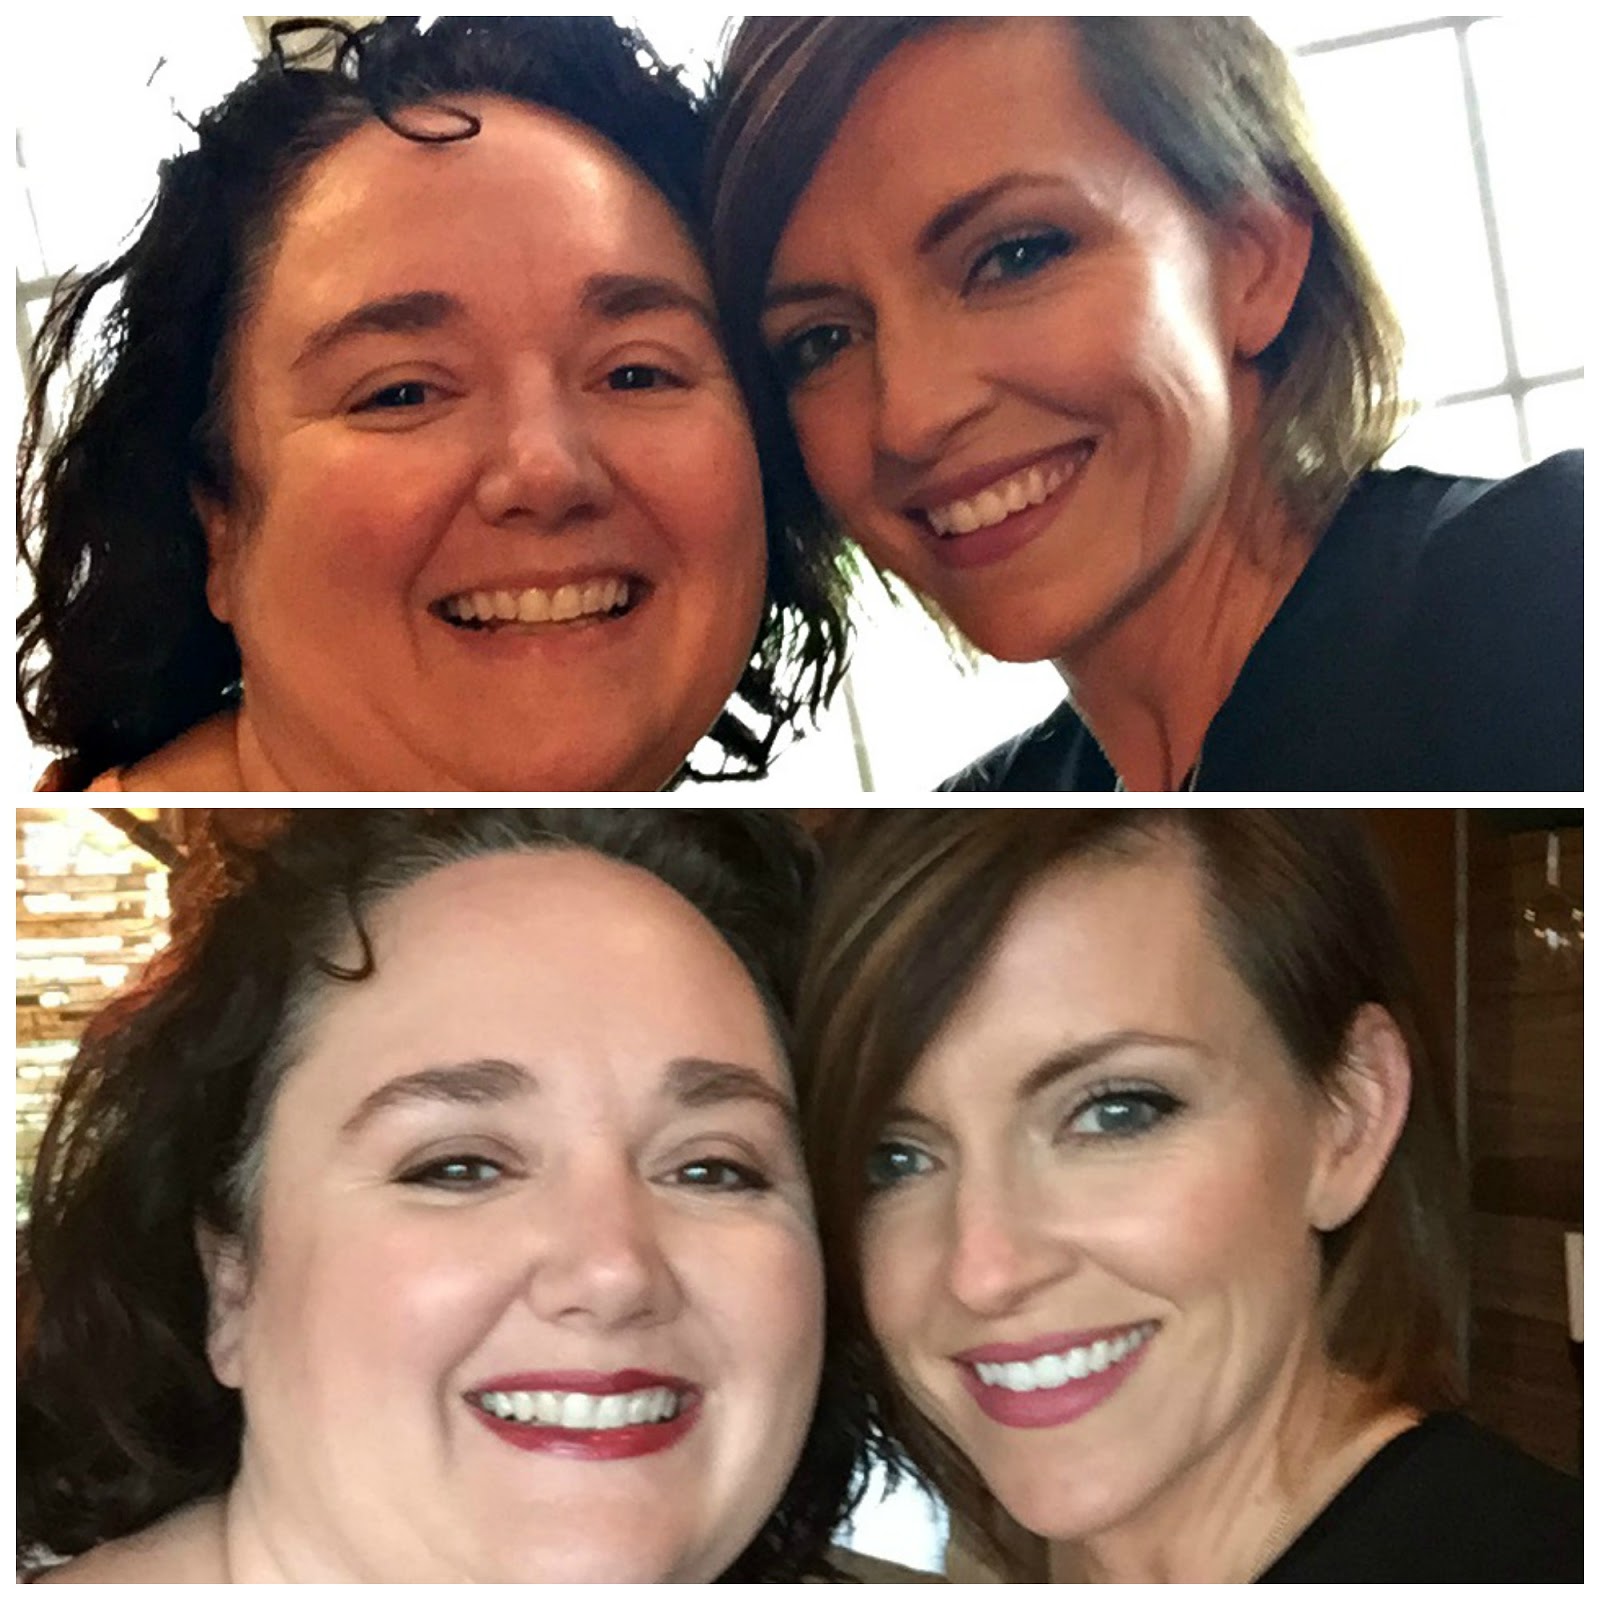
So here’s my before and after – I think it’s just amazing the difference! I love it! Please check Kelly out on her blog and social media channels and show her some love (or hire her if you’re in the Tri-State!).
Blog: http://www.makeupbykellyheid.com/
Facebook: https://www.facebook.com/makeupbykellyheid/
Instagram: https://www.instagram.com/makeupbykheid/