Craft Day DIY: Springarific Fabric Mason Jars
This post may contain affiliate links. For more information, please see our disclosure policy.
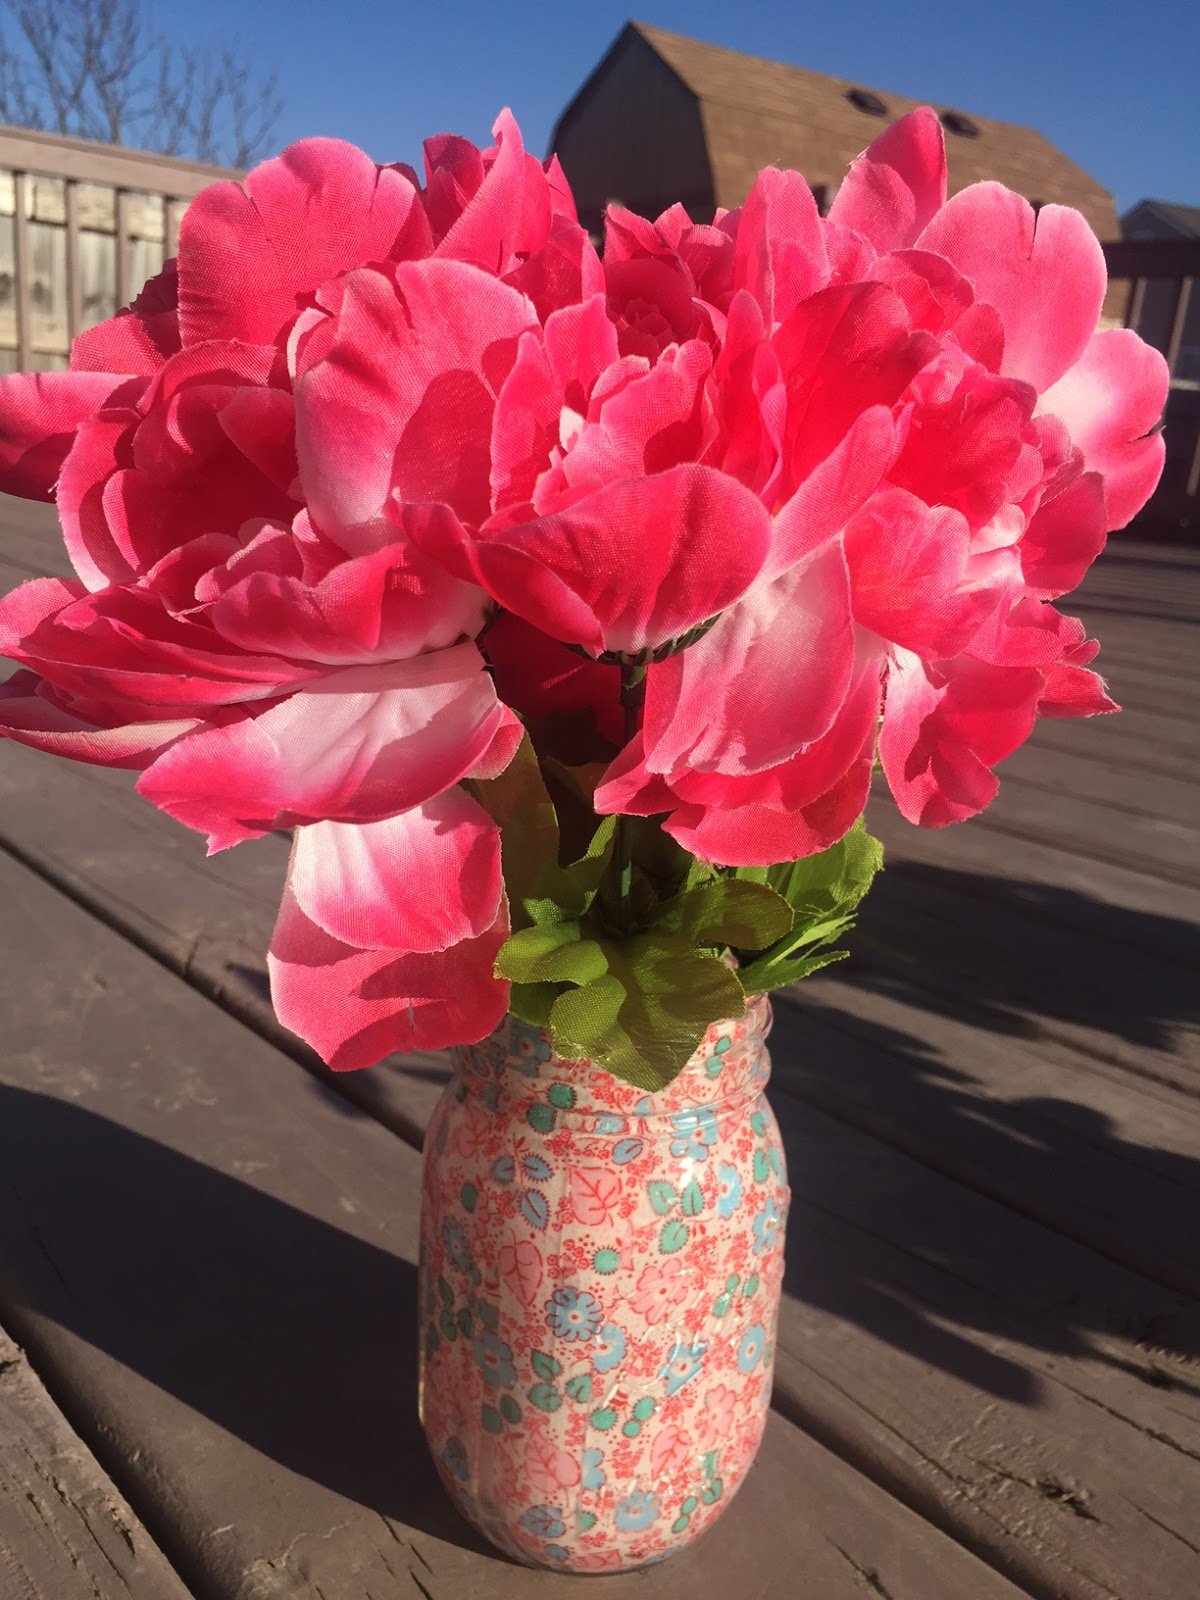
Here’s a taste of the finished product with some Dollar Tree (where everything is actually $1!) fake flowers. Doesn’t it look adorable?!

The list of supplies is super easy:
* Mason Jars ($1)
* Fat Quarters ($12 for a huge bunch)
* Mod Podge
* Scissors
* Paper Plates
* Foam Paint Brush
* Skinny Paint Brush (not foam)
I found the fat quarters at a local quilt store – after looking all over for small flowers – I went to settle with something I didn’t love and there on the counter waiting for me was a batch of the flower-printed fat quarters! I have a lot of fabric left over – we got at least 2 jars out of 1 fat quarter – so if you have fabric laying around – you’re good there.

I had a jar of Mod Podge that I thought was jacked because it was so thick so I asked for something to stir it with. Since we were sitting on the deck – she grabbed a stick for me. A stick.

First you line up the jar with your fabric. You want the fabric to be just a little taller than the jar…Cut one straight cut all the way across your fabric.

Then cut your fabric into 1″ strips – we found that was the best width – wider was too much to handle in the next step and narrower was just annoying. I would recommend if you’re doing more than one jar – cut your strips all at once because the Mod Podge gets MESSY. You probably need 15-20 for a pint jar.


Take the strip once you’ve coated it in and place it in the jar – you want to have one end of the strip in the middle of the bottom of your jar. We found it easiest to use a regular skinny paint brush for this step. Once the strip is touching the bottom – use the brush to stick the strip to the jar and brush out any air bubbles.


We each did three jars and they turned out fantastic – we all thought this might have been our most successful and useful craft day ever! Let them dry at least overnight and then trim the tops.

The fabric I found was literally perfect for what I wanted! I really want to do more of them – they’re so cute! So now – what to do with them?

I stopped at Dollar Tree and got fake flowers in complementary colors – and then took them outside to see how pretty they looked!


